Half moon nails have been quite popular for a while already. But my Goddess haven't had the guts to try it cos it looked quite difficult to conquer. When done nicely, it looks real chic.
One day, having itchy fingers, my Goddess tried to DIY half-moon nails last night for the very first time. Was quite a flopz. She did the red overall base first, then tried to paint a pink semicircle at the bottom - first with masking tape cut horribly into semicircles. Ended up the masking tape didn't stick well and she has to do everything 'free hand'.
 |
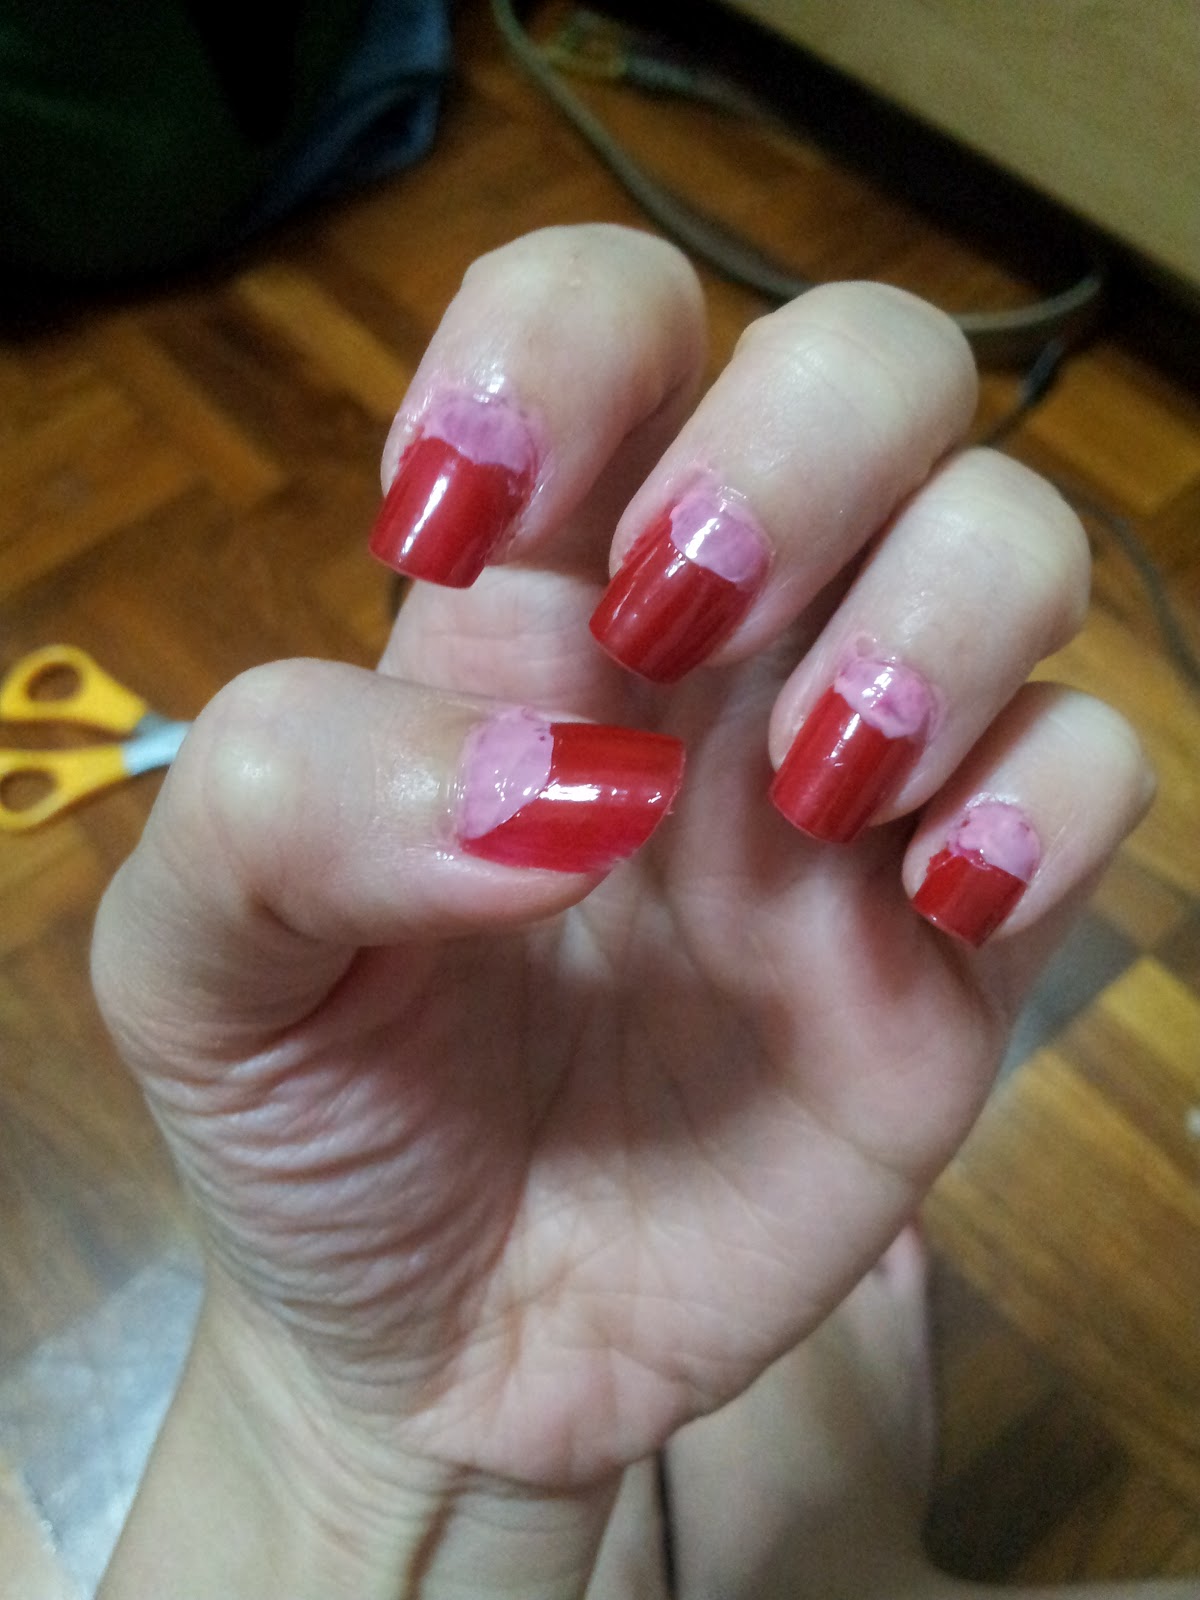
| Super duper thick & messy |
After a few more coats of pink and cleaning up the edges, it looked much better.
However, my Goddess, being the perfectionist, still wasn't pleased. It only looks good from afar. When you look at it close-up, the messiness is still very visible.
So she decided to try another way of painting it, with reference from a step-by-step picture guide which she recalled seeing previously.
 |
| First painting the base coat with the colours you want at the bottom of your nails |
 |
| Once it's dry, paste on this round stickys which you use to protect your documents from tearing apart after holes are punched. |
 |
| Then paint another colour over the stickys right to the top. Just one layer will be more than sufficient. Otherwise you will end up having 4 coats at the top of your nails |
Viola~
 |
| Once dry, you can remove your stickys. Touch-up free-hand where you think it's necesssary |
Think the second method works way better - at least the semicircles look more clean cut now. Just that cos' she only applied two layers of the pink coat, unlike the first time she had on 4 layers or so, the pink here is more faint now. But you can always go around this problem by applying a darker shade of pink!


No comments:
Post a Comment